Automotive Lift Safety & Operating Guideline
1) What “ALI-Aligned” means
Use ALI/ANSI standards as your baseline
ANSI/ALI ALOIM:2020 governs operation, inspection, and maintenance of automotive lifts. It requires periodic inspections by a qualified lift inspector at least annually and lays out operator training and documentation expectations.
ANSI/ALI ALIS:2022 covers installation and service (who’s qualified, documentation, post-install inspection).
ANSI/ALI ALCTV:2017 is the product construction, testing, and validation standard — the benchmark behind ALI’s “gold label” certified lifts.
Choose ALI-certified lifts only
Look for the ALI gold certification label (often with ETL/MET mark). If a model isn’t in ALI’s Directory of Certified Lifts, it isn’t certified.Use ALI training & references
ALI’s Lifting It Right manual and Safety Tips Card distill core precautions for daily use. Keep them posted in the bay.Always use OEM lifting points
Verify lift points in the vehicle manual or ALI’s Vehicle Lifting Points for Frame-Engaging Lifts (digital guide includes EVs). Never guess.
2) Roles, training, and records
Owner/manager
Buy, install, and service lifts per ALIS:2022; retain install docs and post-install inspection.
Ensure operators are trained to ALOIM and the manufacturer’s instructions; maintain training logs accessible at the bay.
Schedule a qualified annual inspection for every installed lift; file the report.
Operators/technicians
Read the lift’s manual and bay postings; follow ALI Lifting It Right practices and the Safety Tips Card.
Perform pre-use checks (see Section 3). Lockout/tagout and report defects.
3) Daily pre-use checklist (spot each item before first lift)
Labels & manuals present/legible (capacity, warnings, controls).
Structure & anchors: no bent arms, cracked welds, loose anchor bolts, damaged runways or platforms.
Safety devices: arm restraints, mechanical locks, slack-cable/safety latches, velocity fuses — verify function (no bypassing).
Hydraulic/air/electrical: no leaks, damaged hoses/cables, or tripped GFCI; guards in place.
Pads/adapters: correct type, not torn or missing; pinch-weld or height adapters available as needed.
Environment: bay floor dry/clear; overhead/underbody clearances; wheel chocks at hand for drive-on lifts.
Controls: operate “up” a few inches and “down” to confirm smooth motion and lock engagement.
If anything is off: Remove from service and tag until a qualified lift service tech repairs and a qualified inspector clears it.
4) Universal lifting procedure (all lift types)
Prepare the vehicle
Remove occupants; close doors; secure loose cargo.
Confirm vehicle weight < lift rated capacity (consider added equipment).
Identify lift points
Use OEM manual or ALI Lifting Points Guide (includes late-model/EV coverage).
Set adapters/pads correctly
Use pinch-weld adapters, frame adapters, or height extensions as specified by OEM and lift maker.
Spot the vehicle
Center mass within the lift’s loading envelope; verify fore/aft balance (no obvious nose/tail bias).
Raise to “clearance check” (~7–10 cm / 3–4 in.)
Push/pull at bumpers and rock the vehicle gently to confirm stability. If unstable, lower and reposition.
**Raise to working height and lower onto mechanical locks (never work on hydraulic pressure alone).
Use secondary supports when needed
If removing heavy components (e.g., engine, transmission, EV drive unit), place approved support stands/bridge jacks to keep center of gravity stable.
Lowering
Clear under-vehicle tools; raise slightly to disengage locks; lower smoothly with personnel clear of pinch points.
5) Lift-type specifics
A) Two-post (symmetric, asymmetric, super-symmetric)
Arm restraints must automatically engage off the floor; verify before loading.
Asymmetric: position front arms shorter to shift doors-open clearance; maintain manufacturer’s front/rear % balance window.
Tall/light trucks: use height adapters; avoid contacting running boards, steps, or battery trays (EVs).
Wheels-free tasks: standard for 2-post; still use stands if removing major components.
B) Four-post drive-on (incl. alignment lifts)
Approach straight; chock wheels (especially short wheelbase vehicles). Apply park brake/park.
Locking system: raise to a notch and set mechanical locks before working under runways. Never rely on hydraulics alone.
Wheels-free: use approved bridge jacks and/or support stands at manufacturer-specified lift points.
C) Scissor & parallelogram
Keep hands/feet clear of scissor linkage and articulated structure.
Use all required contact pads; confirm platform contact pattern matches vehicle frame points.
D) In-ground (single/multi-post)
Check top-plate condition/arm operation; respect manufacturer’s water-intrusion and ventilation instructions; keep covers in place; verify locks.
E) Mobile column lifts (MCL)
Use matched, communicating columns on rated surfaces only; program axle weights; verify synchronous lifting and lock engagement on each column.
Always pair with stands/cribbing when wheels-off or removing heavy components.
6) EVs, hybrids, and special vehicles
Never lift under battery trays or high-voltage components; use OEM-specified points only (guide covers EVs 2000-2023+).
Disable auto-level/air suspension per OEM; set parking pawl properly.
For unibody performance cars with low ride height, use low-profile pads or ramp extenders to reach proper points without body contact.
7) “Never” list (from ALI safety teachings)
Never exceed the lift’s rated capacity or defeat safety devices.
Never work under a vehicle supported only by hydraulic pressure — locks or stands must carry the load.
Never lift with people inside, or with open doors/loose items that can snag.
Never guess at lifting points — use the OEM/ALI guide.
8) Inspection, maintenance & who can inspect
Annual inspection minimum by a qualified lift inspector per ALOIM:2020; keep the latest inspection on file for each lift.
Use ALI’s “Find a Certified Inspector” directory to locate an ALI Certified Lift Inspector (Check360 program).
Perform manufacturer-specified periodic maintenance (cables/chains, locks, hydraulic fluid, anchor torque). Document everything.
9) Buying, installing, and verifying your lift
Buy ALI-certified models (verify via ALI’s Directory of Certified Lifts).
Installation per ALIS:2022 by qualified service techs; follow slab, anchoring, electrical specs from the lift OEM; complete post-install inspection before first use.
Mark capacity & keep manuals at the bay; post ALI Safety Tips where techs can see them.
10) Quick reference: Operator pocket steps (post this in each bay)
Read OEM lift points & choose adapters.
Pre-use check (structure, locks, pads, leaks, anchors, labels).
Spot & center the vehicle; chock if drive-on.
Raise a few inches; shake-check for stability.
Raise to height; lower onto locks.
Add stands if removing heavy parts.
Clear the area; lower smoothly.
Helpful ALI resources (for your safety board)
Lifting It Right (illustrated safety manual).
ALI Safety Tips Card (13 essential reminders).
Vehicle Lifting Points Guide (digital; includes EVs).
Directory of Certified Lifts (verify the gold label claim).
Find a Certified Inspector (annual inspections).
Notes & compliance reminders
This guideline summarizes ALI-aligned best practices. When in doubt, defer to the lift manufacturer’s instructions and the ANSI/ALI standards themselves. Obtain and keep a copy of ALOIM:2020, ALIS:2022, and (for purchasing/specifying lifts) ALCTV:2017 on site.
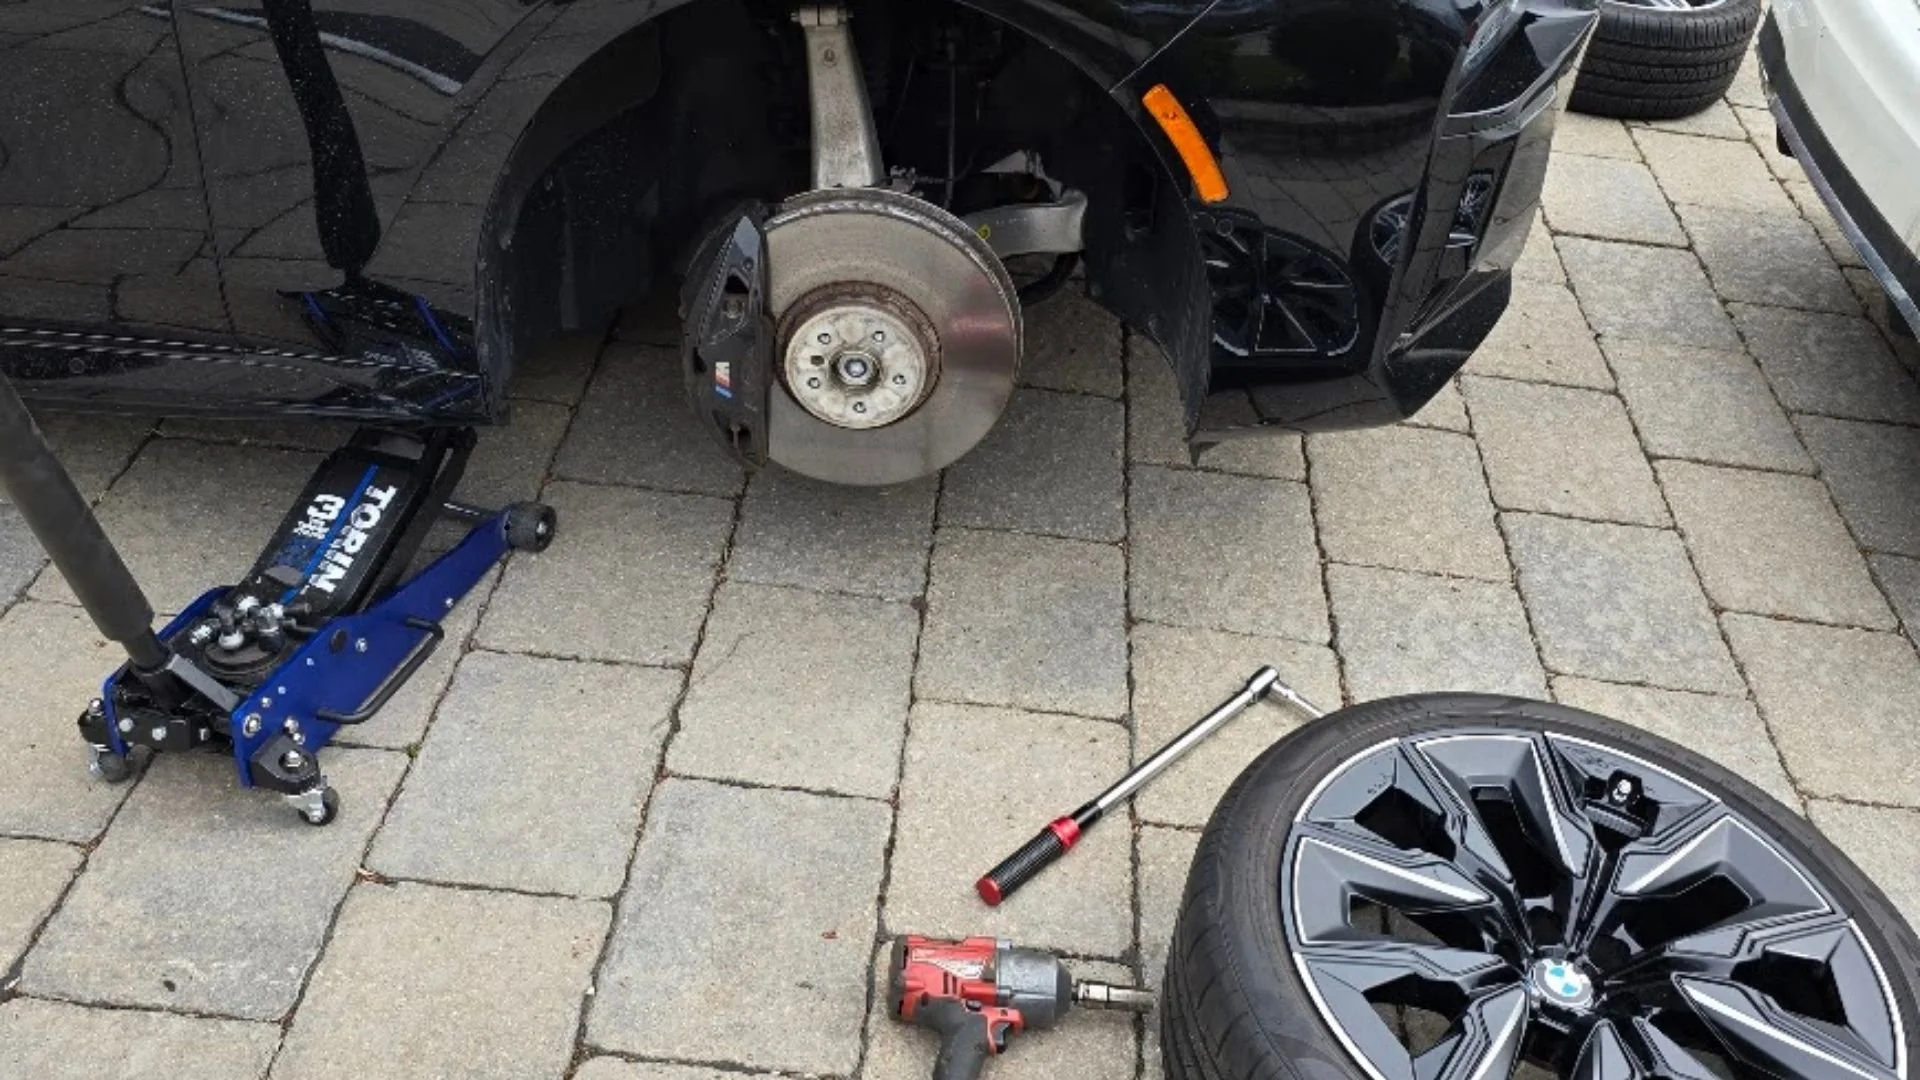
A floor jack properly used to lift a BMW i7.
11) Hydraulic Floor Jack – Safe Use (Shop & Mobile)
Applies to mobile tire services provided by Sparky X Mobile Tire Shop in Toronto & GTA.
A) Pre-use checks
Rating: Jack’s capacity ≥ expected load on the corner/axle you’re lifting (see “Capacity math” below).
Condition: No leaks; saddle pad intact; handle secure; release valve smooth; wheels/casters roll freely.
Ground: Flat, solid, and clean. On hot asphalt, gravel, or pavers: use a steel plate or 18–24 mm (¾–1 in) plywood under the jack. Never use bricks/cinder blocks.
Lift points: Confirm OEM-specified jack points; never lift under battery trays, EV high-voltage components, plastic aero shields, exhaust, oil/trans pans, or thin sheet metal.
B) Capacity math (quick)
Corner lift: Choose a jack rated ≥ 25–30% of GVWR for most passenger cars, ≥ 40% for heavier trucks/SUVs.
Axle lift: Use the axle’s GAWR (from door jamb). Jack must exceed the supported portion of that GAWR.
Stands: Ensure stands’ combined rating comfortably exceeds the supported load (check if rated per pair or per stand).
C) Lifting procedure
Secure the vehicle: Park/gear in P (or 1st gear), parking brake on, wheel chocks on the ground-side (opposite) wheels.
Position the jack: Center the saddle under the OEM jack point (use pinch-weld pad or frame adapter as needed). Align the handle so you can stand clear of the vehicle’s path.
Preload & check: Pump until the saddle just contacts; ensure pad is square, then lift 2–3 cm (1 in) and shake-check stability.
Raise to height: Lift only as high as needed to place stands or remove the wheel. Keep your body out from under until stands are supporting.
Place stands: Position at OEM-approved support points (not rockers unless using proper adapters). Set both stands to equal height; lock pins/teeth fully.
Lower onto stands: Open the release valve slowly so the vehicle fully rests on stands (not the jack). Lightly re-snug the jack to “kiss” the load without carrying weight—this adds redundancy.
Stability check: Gentle push at bumper; if there’s movement, re-set stands/jack.
Work zone: Keep tools clear of the lowering arc. If removing heavy components (brake/hub assemblies, subframes, EV drive units), add secondary supports to prevent CG shift.
D) Lowering
Clear tools/people; reinstall wheels hand-tight if they were removed.
Raise slightly to free the stands; remove stands.
Lower smoothly; remove chocks last.
Torque wheels to OEM spec with a calibrated torque wrench; follow your shop policy on re-torque after 80–100 km.
E) Pro tips (floor jacks)
Central jacking points (front/rear crossmember or differential housing) are vehicle-specific—use only if explicitly allowed by the OEM.
On EVs/low cars, use low-profile or long-reach jacks and pinch-weld puck adapters.
Never “spot” or balance the vehicle on a jack; jack = lifting, stands = holding.
Don’t use impact guns on the release valve; close it finger-tight only.
12) Jack Stands – Selection & Setup
A) Choosing stands
Rating & labeling: Confirm whether rated per pair or per stand; label your stands accordingly in the bay.
Contact surface: Use V-heads for axles, flat/saddled heads for frame rails; add pinch-weld adapters for unibodies.
Height range: Stands must reach operating height without over-extending.
B) Placement principles
OEM support points first. If unavailable, use structural members (boxed frame rails, reinforced pinch welds with adapters).
Symmetry: Keep left/right height equal; avoid twisting the body.
Surface: Same rules as jacks—solid, flat, and reinforced on soft surfaces with plates/plywood.
C) “Never” with stands
Never rely on pawls/teeth without the safety pin (if equipped).
Never stack wood blocks atop stands; keep the stand head directly on the approved point.
Never place stands under suspension links, control arms, or sway bars unless OEM specifically says it’s a lifting/support point.
13) Scissor (OE Emergency) Jacks – Roadside-Only Use
Treat scissor jacks as temporary, single-point emergency tools for changing a flat on the roadside, not for under-vehicle work.
A) When to use
Only for roadside tire changes on level, firm ground. If the shoulder is soft or sloped, call roadside assistance.
B) Pre-use checks
Rated capacity meets the vehicle’s requirement (see owner’s manual).
Condition: Screw turns smoothly; saddle pad intact; jack is not bent/rusted.
Kit readiness: Wheel chocks (use stones/wood if nothing else), lug wrench, reflective triangles.
C) Procedure (roadside)
Safety setup: Park well off traffic, hazards on, cones/triangles out. Transmission in P/1st, parking brake on, chock opposite wheels.
Break lugs loose (~¼ turn) before lifting.
Locate the OEM scissor-jack point (reinforced pinch-weld notch or pad).
Raise slowly with the hand wrench; never use power tools. Stop once the flat clears the ground.
Wheel change only: Swap wheel; hand-tighten lugs in a star pattern.
Lower fully, remove jack, then torque lugs to OEM spec as soon as practical.
D) Do-not list (scissor jacks)
Do not crawl under the vehicle—ever.
Do not use with impact tools or cheater bars.
Do not use on slopes, gravel, grass, or hot soft asphalt without proper cribbing.
Do not use for shop work—switch to a floor jack + stands.
14) Special vehicle notes (applies to jacks & stands)
EVs/Hybrids: Use only OEM jack points; avoid battery trays and orange-cable zones. Disable air/auto-level suspension per OEM before lifting.
Unibody performance/low cars: Use pinch-weld pucks and low-profile equipment; protect side skirts.
Body-on-frame trucks/SUVs: Frame rails are primary support points; axle tubes can be supported with V-head stands if OEM permits. Differential lifting/support is OEM-dependent.
Rust belt caution: Corroded pinch welds and rails may not support rated loads—relocate to a sound structural point or use a different method.
15) Quick “Pocket” Checklists (print for each bay/van)
Hydraulic Floor Jack (up & on stands)
Chock → Brake on → OEM jack point → Pad/adapter set
Preload & shake-check → Raise → Place paired stands → Lower onto stands → Stability check
Work → Raise off stands → Remove stands → Lower → Torque to spec
Scissor Jack (roadside tire change)
Safe location → Hazards/triangles → Chock → Break lugs loose → OEM jack point
Raise by hand → Swap wheel → Hand-tighten star → Lower → Torque to spec
16) Inspection & Maintenance (portable equipment)
Monthly visual: leaks, bends, saddle pads, labels legible.
Quarterly function: lift/hold/lower check; jack purge/bleed per maker; lube scissor-jack screw per OEM.
Annual documented check: jacks and stands tagged with ID, rating, service date; replace worn pads/adapters.
Storage: Jacks fully lowered, release valve closed finger-tight; keep adapters/pucks with the jack.